I finally pulled the radiator tonight, and it was pretty ugly.

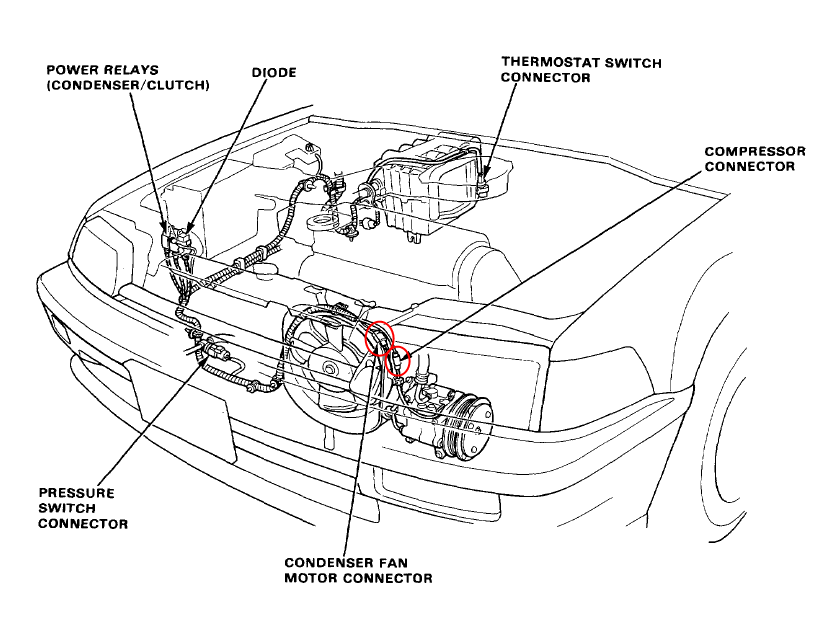
The thing had all kinds of interference trying to get it out, namely the oxygen sensor, and a whole bunch of parts over on the right side where the A/C compressor was.
I punted to the CRXCommunity forums, in this post. Thankfully, “warbird” clued me in to something with his statement:
“Removing the fan and shroud from the radiator will give you more room to wiggle the radiator around. Also the headers take up a little more room than the stock exhaust did, but you should still be able to get the radiator out.”
Ah hah! I don’t have the OEM exhaust manifold/headers. “warbird”‘s post clicked the light on in my head. I had thought that perhaps this is a symptom of subtle front end damage, since everything seemed really tight and unnaturally close together.

That makes sense, because I was wondering why they were missing the heat shield and were not the shape I was seeing in the shop manual. This is an aftermarket non-OEM header, which explains why the oxygen sensor is where it is and there’s a very tight fit. I’ll be looking for an OEM exhaust header to replace this. Chalk it up to me being a completely fresh novice.
Back out into the garage and start taking the radiator fan off. I’ve got two fans in there, and the shop manual has no mention of the second fan. I’m discovering that the shop manual leaves a lot of details out, which is what anyone who is experienced working on these things probably knows very well already.
The fasteners that hold the fan onto the radiator are these weird captive bolts, and the first one came out easily. Of course, the second one did not. I ended up breaking my first part on the car: one of the little plastic brackets that holds the fan onto the top radiator tank.

At first it was very irritating, but very soon I won’t be as concerned, as you shall see.
The radiator finally came most of the way out after removing the first fan and shroud, but was still hanging up on “something”. That something turned out to be the little stub lines sticking out of the bottom. I don’t even know what their purpose is, but the right one was hanging up on an A/C line underneath. A little coercion with my prybar on the line (gently), and I worked the little stub free and that was that.

The only thing left to do was to remove the connector inside of the dry-rotted but still intact rubber boot. Wormed my fingers in there, squeezed, and it came apart. Looks like there was a liberal amount of dielectric grease in there. Good thing for that.

Once the radiator was out, I noticed that the fins along the bottom were like dust. They rained out all over the place, and it seems that the radiator will need to be replaced.


The only mystery remaining is that the “second fan” appears to be OEM but I’m not sure what its purpose is. More pouring through the shop manual is apparently in order. Also, the bottom radiator mounts were rusted out and just crumbled away. Those need replacing too.

The A/C condenser looks to be in good shape, but the line routing looks a bit hokey.

What is the purpose of that big loop on the line going to the condenser? I am considering just pulling all of the A/C crap out for now, since it’s completely discharged anyway. A/C is going to come after the body work, which is still way down the line.
It is going to be a fun project. I’m already thinking about that moment when I fire the engine up and take it for a test drive.


